
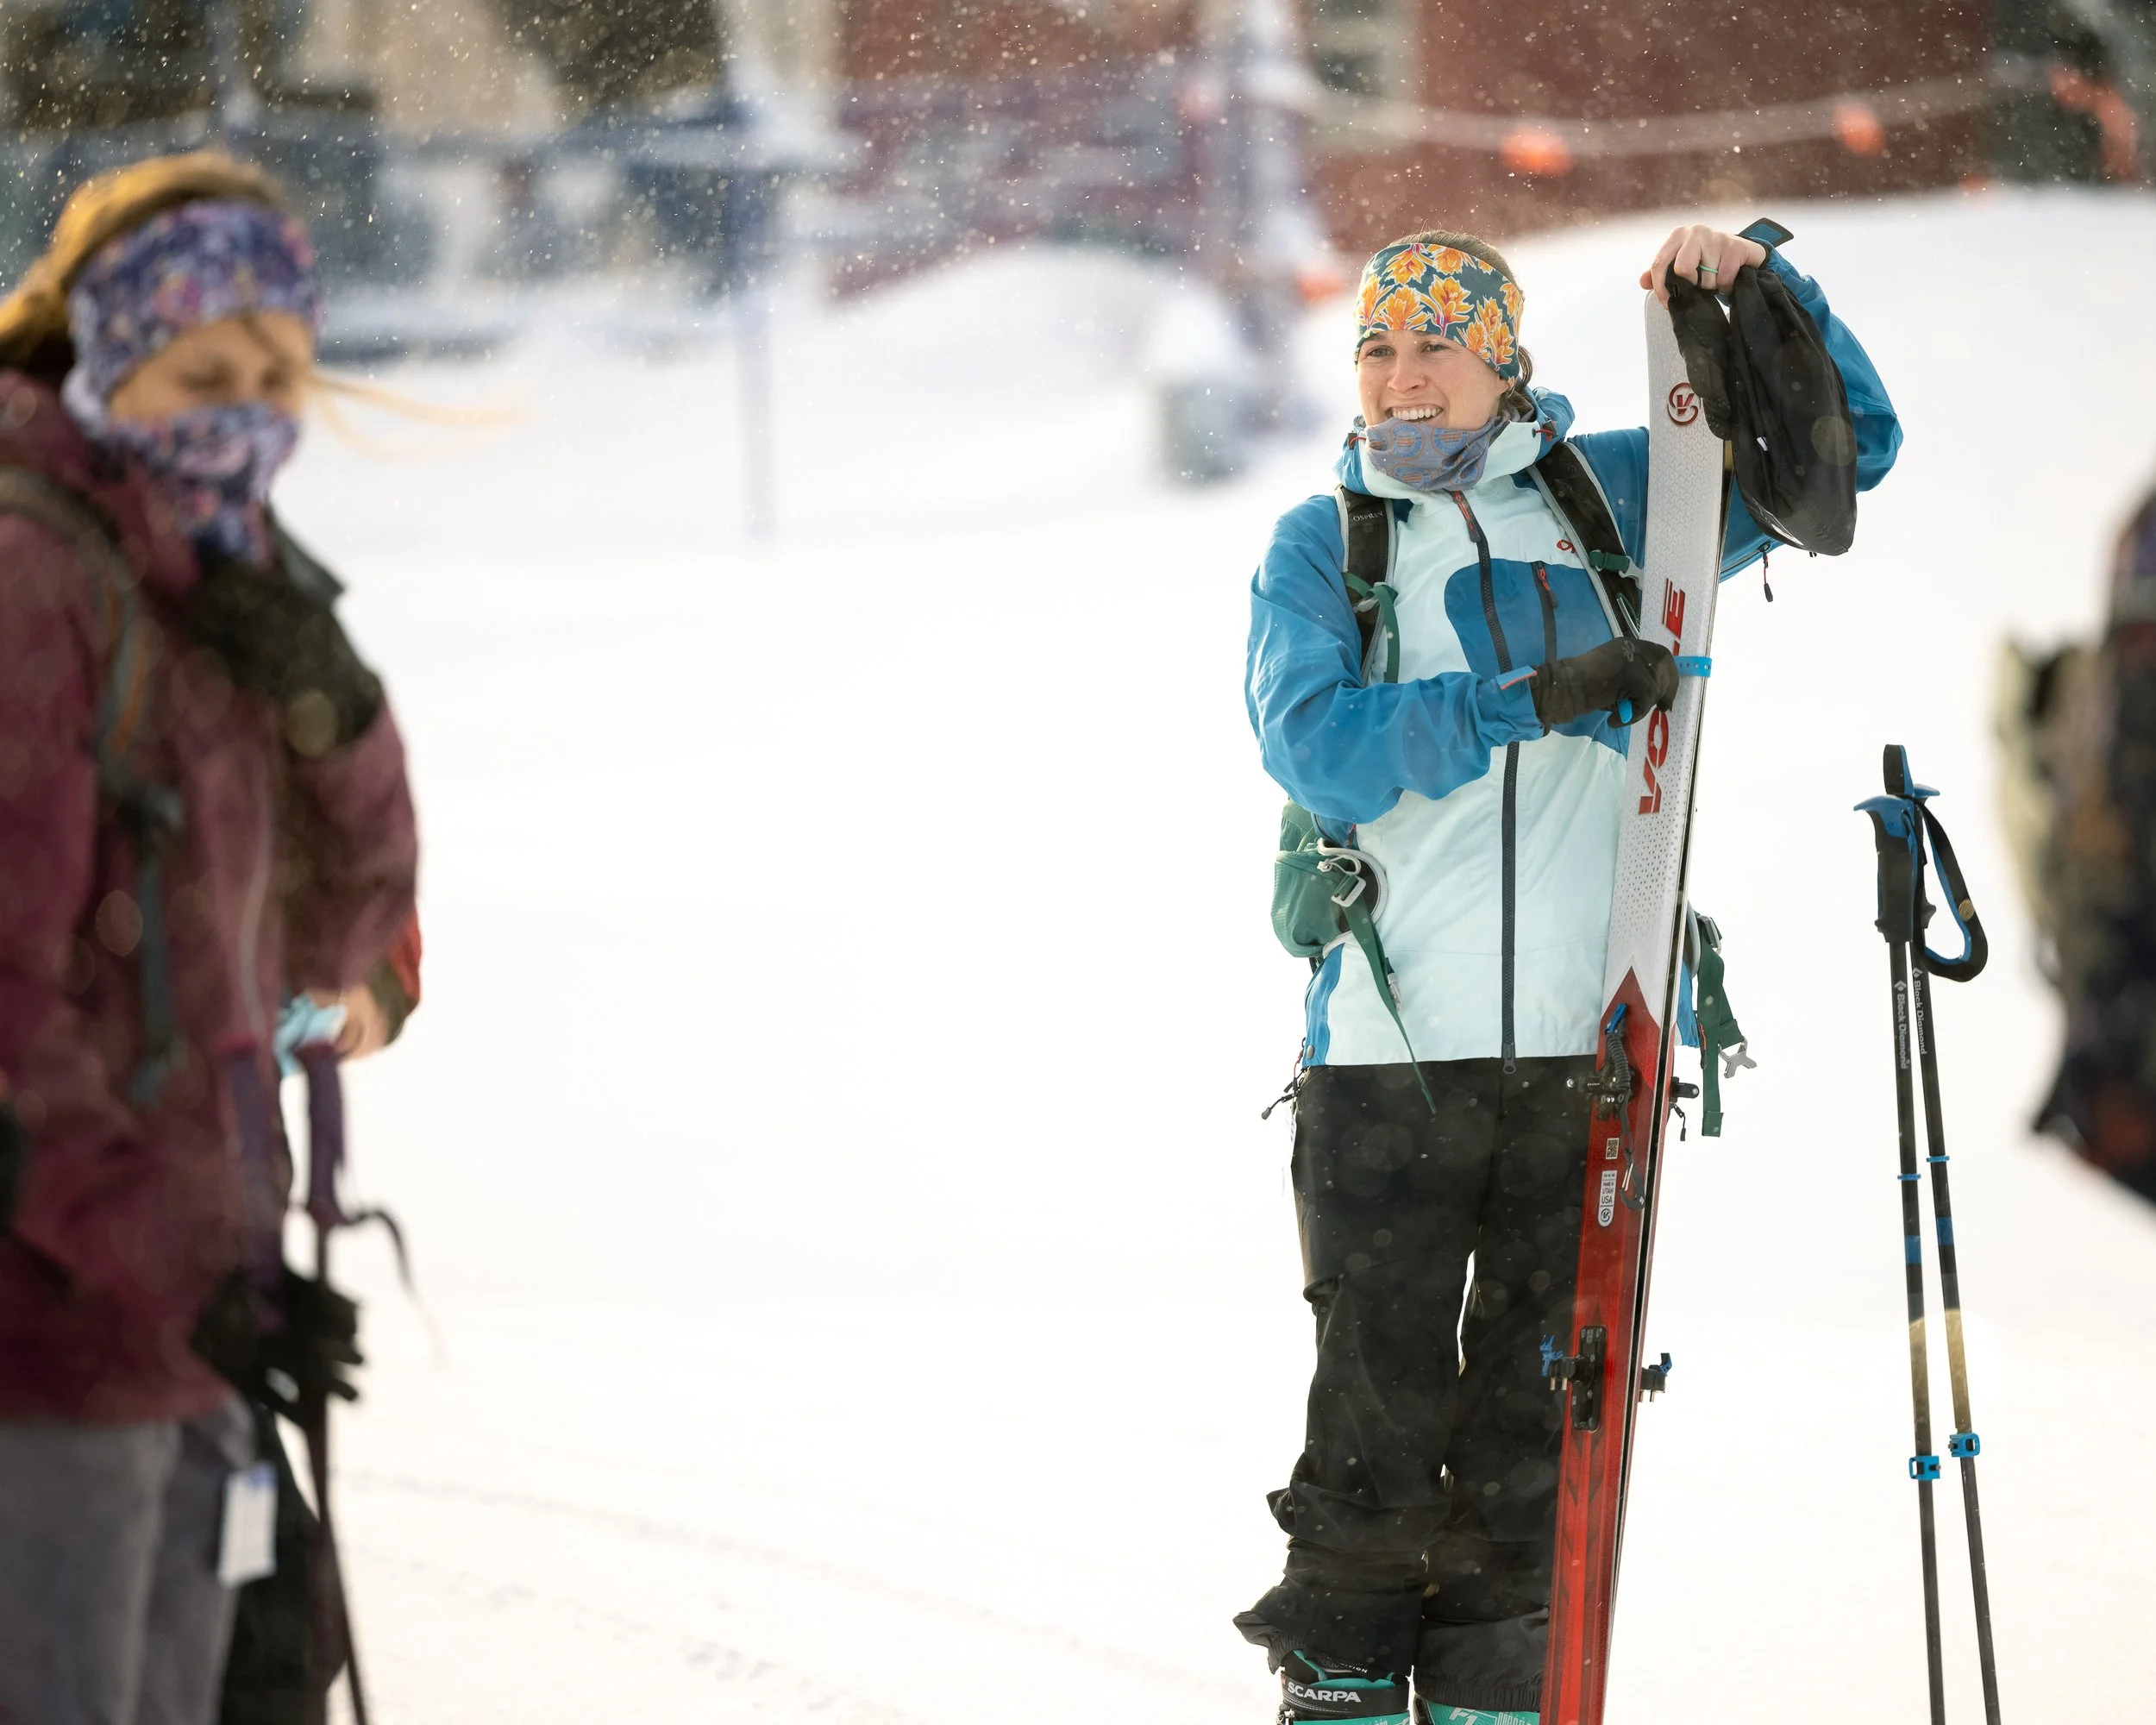
Layering guide
How to dress for an activity that makes you very hot for an hour and then very cold for twenty minutes. This is the single biggest difference between a good first day and a miserable one, and it costs nothing to get right.
Why layering matters more here than at a resort
Riding a lift, you are cold the whole time, so you dress warm and stay warm. Going uphill under your own power, you generate a surprising amount of heat, and then you stop at the top and cool down fast. Dress like a resort day and you will be soaked in sweat by the first regroup and freezing at the transition.
On one of our program days, start comfortable, not cold. The usual touring advice is to start slightly cold, and that is right when you are heading out on your own and walking within a minute of shutting the car door. Our days do not begin that way. We stand outside in a circle for introductions before anybody moves, and standing still in the cold underdressed is a poor start to a day. So dress to be comfortable standing there, and expect the group to stop in the first five to ten minutes of climbing to take a layer off. That stop is planned, everybody uses it, and nobody minds waiting.
On your own, the old rule still holds: if you are comfortable standing in the parking lot you are overdressed, so start the climb slightly cold. It feels wrong and it is right.
Base layer
Merino wool or a synthetic. Never cotton, which holds water against your skin and stays wet all day. A thin long-sleeve top and thin leggings. Thin, not thick: the base layer is there to move sweat away from you, not to insulate.
Socks: one pair of thin, well-fitting ski socks. Not thick, not two pairs. Thick socks and doubled socks both make boots tighter, which makes feet colder, which is the opposite of what people are trying to achieve. Merino is worth the money here.
Mid layer
A fleece or a light grid fleece, or a light soft shell. This is the layer that comes off ten minutes into the climb and goes back on at the top, so it wants to be easy to get in and out of your pack.
Shell
A waterproof, breathable jacket with a hood, and waterproof pants. Pit zips on the jacket and side zips on the pants are worth a lot on a climb, because they let you dump heat without stopping to take a layer off.
A hard shell is better than an insulated ski jacket for this, because an insulated jacket has no off switch. If an insulated resort jacket is what you own, bring it and expect to carry it.
The insulating layer for the top
A down or synthetic puffy that lives in your pack and comes out at the transition. This is the most important single item on the list and the one most often left at home. Synthetic over down if you expect wet weather.
Put it on before you cool down, not after. The transition takes fifteen minutes and you will be standing still for all of them.
Hands, head and neck
- A thin glove for the climb and a warmer glove or mitten for the descent. Two pairs, because the first pair will be damp.
- A warm hat that fits under a helmet, and a sun hat or cap for warm spring days.
- A buff or neck gaiter. Small, cheap, and the most versatile thing in the pack.
- Hand and toe warmers if you run cold. They weigh nothing.
Spring days are different
March and April can be shirtsleeves on the climb and winter at the top. Sunscreen, sunglasses, a cap, and still bring the puffy. Wet snow soaks pants from below, so waterproof lower layers matter more in spring, not less.
Doing this on a budget
You do not need new anything. In rough order of value for money: borrow, then buy used, then buy on sale, then buy new. Ski swaps and the quarterly REI garage sale are genuinely good. Kit Lender rents whole clothing kits by mail if you are visiting from somewhere warm. Darn Tough and Smartwool socks come up used often and last.
And if clothing is the barrier to you coming out with us at all, say so when you book. That is not a strange thing to ask, and we would much rather find a way to sort it out than lose you.

