
Gear guide
What the equipment is, what it does, what to buy and what to rent first. Written so you can walk into a shop knowing what you are looking at, and walk out having spent as little as possible.
Rent before you buy, seriously
A complete touring setup realistically runs between about $2,500 and $5,500 new, depending on the category and how you shop. Renting one costs about $50 a day, and less than that at the shops we have partnered with. Do not buy anything until you have done three or four days, because the equipment you would choose after three days is not the equipment you would choose on day zero.
If you are only uphilling at resorts, you do not need avalanche gear. Do not buy a beacon, shovel and probe yet. Put that money toward lessons or an avalanche course instead. See avalanche education.
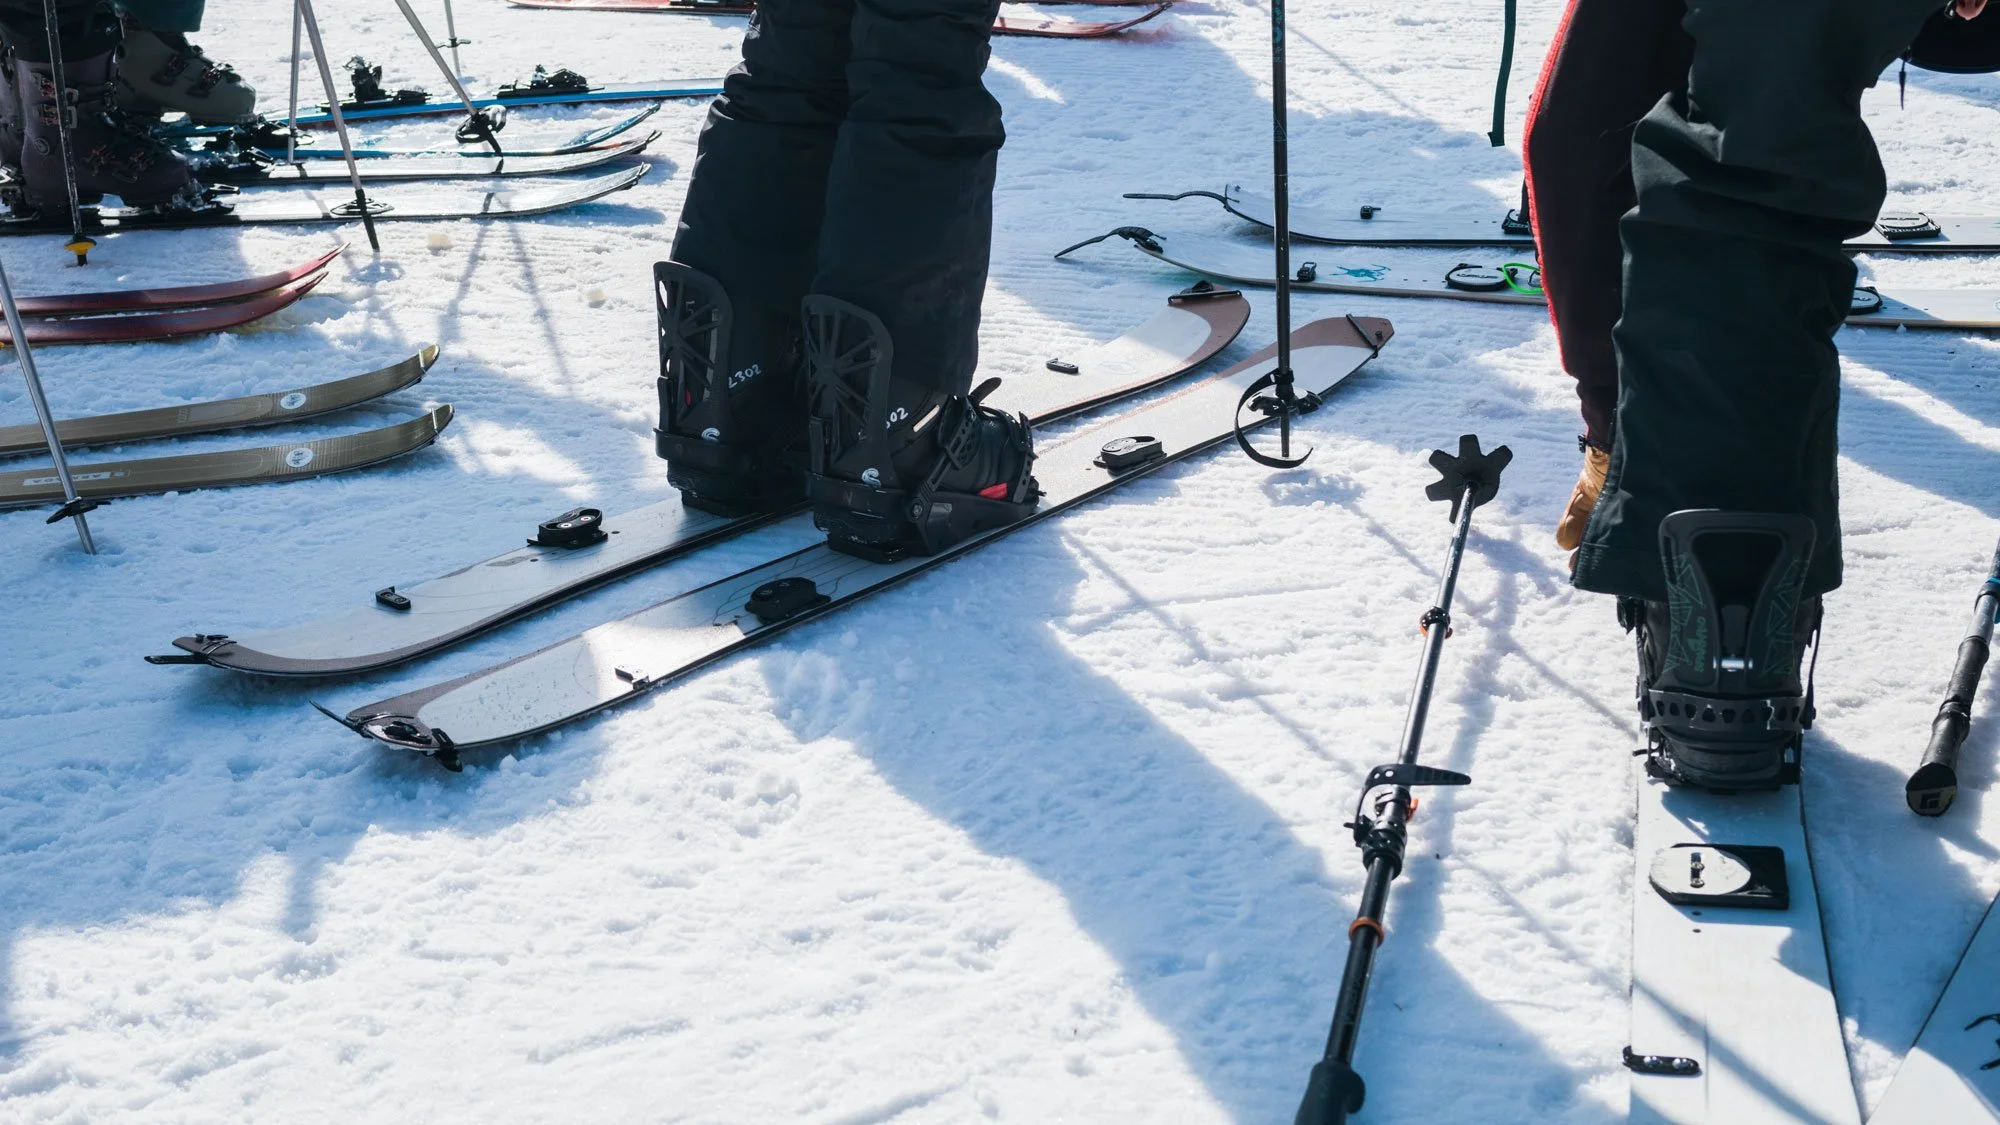
Skis and splitboards
Touring skis are lighter than downhill skis, because you are carrying them up. Lighter means less stable on the way down, so every touring ski is a trade between the climb and the descent. For learning, borrow or rent whatever is available and do not think about it.
A splitboard is a snowboard that separates into two skis for the way up and bolts back together for the way down. It works, it is more fuss at transitions, and splitboard rentals are scarcer, so book earlier.
Bindings
A touring binding releases at the heel so you can walk, and locks down so you can ski. There are two broad families: tech or pin bindings, which are light and use two pins at the toe, and frame bindings, which are heavier and take a normal boot. Rentals are mostly tech bindings now.
Every touring binding has climbing risers, small wedges that flip up under your heel on steep ground. Learn where yours are on the flat, not on a 25-degree slope.
Boots
This is the one piece worth caring about, because a boot that does not fit ruins a day and no amount of good skis fixes it. A touring boot has a walk mode, a lever at the back that unlocks the cuff so your ankle can flex.
If you own downhill boots and they fit well, ask whether they will work with a rental binding. Frame bindings often take them. It is the cheapest possible way to start.
Skins
Directional fabric with glue on one side, so the ski slides forward and grips backward. Mohair glides better, nylon grips better, most are a blend. Keep the glue clean, fold them glue to glue, and keep them warm in very cold weather. There is more on using them in how touring works.
Poles
Adjustable poles are recommended, longer for the climb and shorter for the descent, but normal downhill poles are completely fine to start with. Do not buy poles as your first purchase.
Helmet and eyes
A helmet is required on our programs. Any ski helmet works. Bring both sunglasses and goggles if you have them: sunglasses for the climb, when goggles fog, and goggles for the descent.
Pack
A 20 to 30 liter pack with a waist strap. The waist strap matters, because a pack that swings while you are skiing is genuinely unpleasant. A normal daypack will get you through a resort uphill day if that is what you have.
If you are going to buy something, buy it in this order
- Boots that fit. Get them fitted in person.
- Skins, because rental skins are the most worn-out part of any rental setup.
- Skis and bindings, together, once you know what kind of days you actually do.
- Avalanche gear, only when you start touring in avalanche terrain, and take a course in the same season.
Buy used where you can. Ski swaps, the quarterly REI garage sale, and end-of-season sales at evo, Backcountry and Sierra are all reasonable. Boots are the one thing not to buy used unless you can try them on.

