
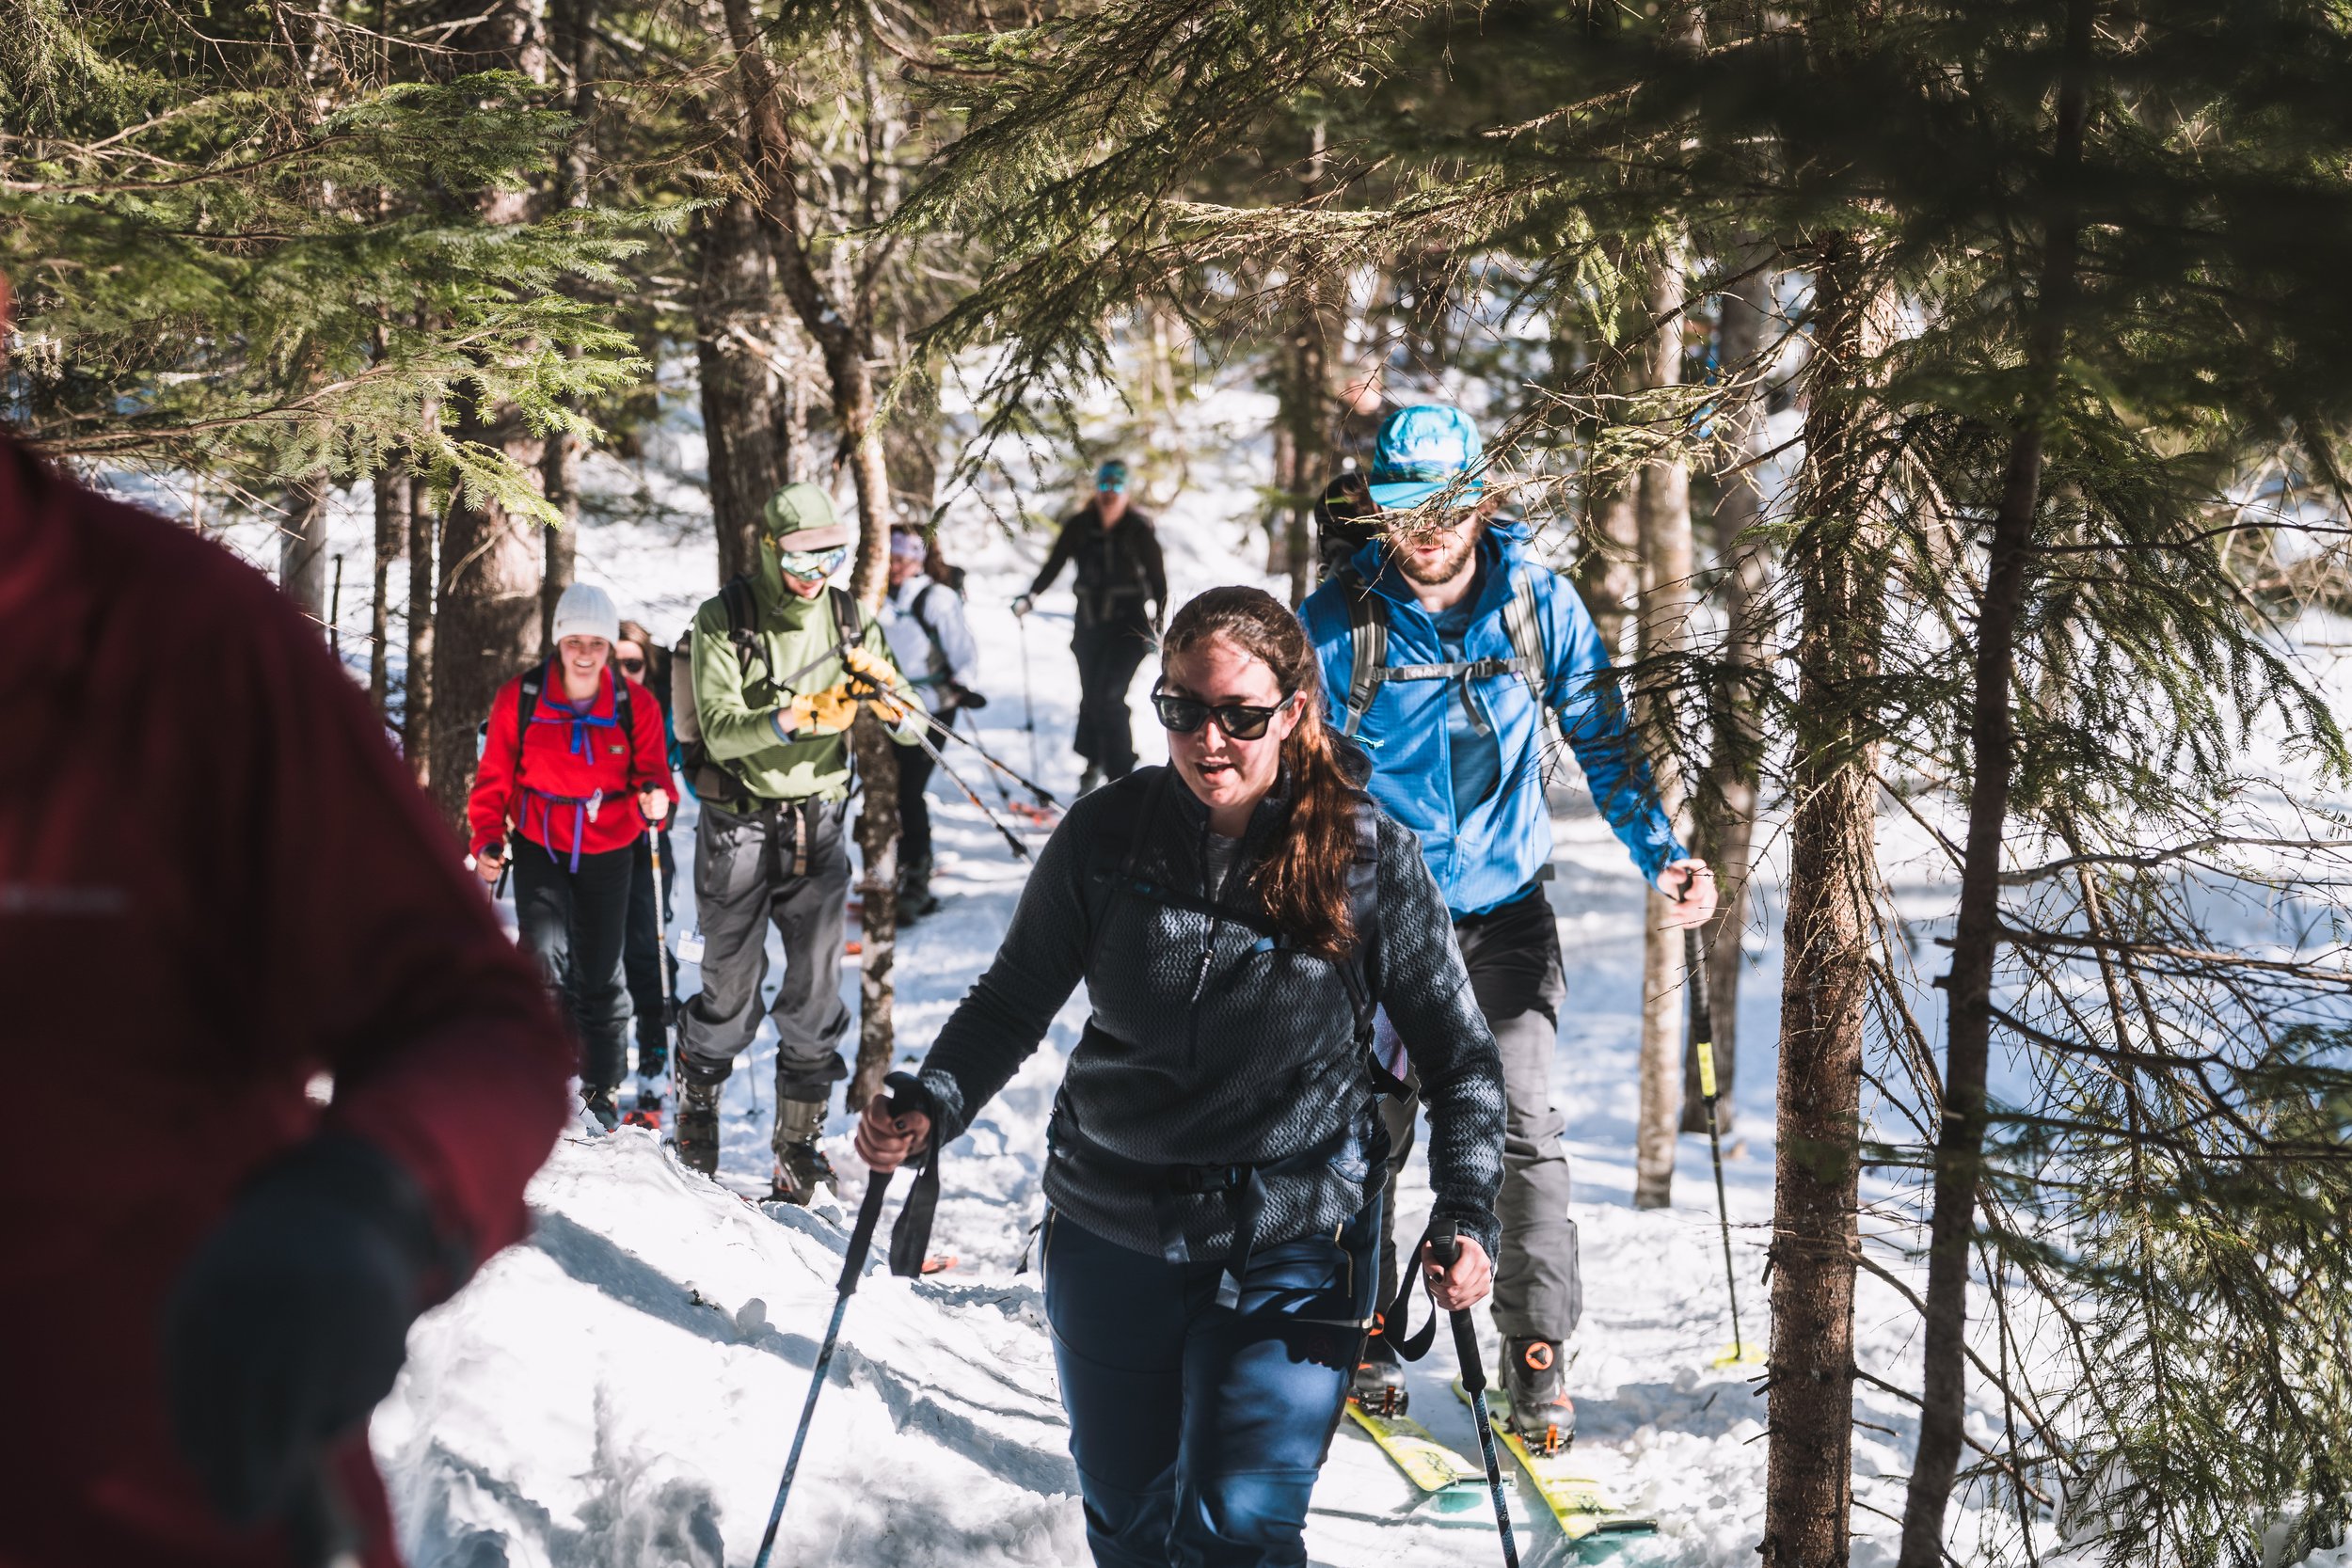
How touring actually works
Skins, bindings, kick turns, transitions and pacing, explained in words before anybody hands you equipment. Reading this will not teach you to tour. It will mean the first ten minutes of your first day is not the first time you have heard any of it.
The basic idea
Ski touring means climbing a mountain on skis or a splitboard and then descending it. Your bindings release at the heel so you can walk, and grippy strips called skins stick to the base of your skis so they slide forward and not backward. At the top you take the skins off, lock the heel down, and it is just skiing again. That is genuinely the whole concept. Splitboarding is the same idea with a board that splits into two skis for the way up.
Skins
Skins are strips of directional fabric, mohair or nylon or a blend, with glue on one side. The fibers lie one way, so the ski glides forward and grips going backward. They were historically actual sealskin, hence the name, which is the sort of fact people enjoy knowing on a skin track.
The practical things: keep the glue side clean, because glue plus pine needles equals a skin that falls off halfway up. Put them on with the tip clip first and smooth them down from tip to tail. Fold them glue to glue when you take them off, or use the mesh they came with, and put them somewhere warm inside your jacket in very cold weather, because cold glue does not stick.
Bindings and boots
A touring binding has two modes: walk, where the heel is free, and ski, where it is locked like a normal binding. There is usually a small lever or a rotating heel piece to switch between them, and there are climbing risers, little wedges that flip up under your heel to make steep skinning less brutal on your calves. Use them earlier than you think.
Touring boots have a walk mode too, a lever at the back that unlocks the cuff so your ankle can flex. Forgetting to put your boots back into ski mode at the top is the single most common mistake in the sport and everybody has done it, usually loudly.
Walking uphill on skis
Slide, do not step. The instinct is to lift each ski and place it, which is exhausting. Keep the ski on the snow and push it forward, letting the skin do the gripping. Weight goes over the middle of the foot, not on the toes. Shorter strides on steeper ground.
On a traverse, roll your ankles into the hill so the whole base of the ski is on the snow rather than just the downhill edge. When you start slipping backward, the fix is almost always more weight over the ski and a flatter track, not more effort.
Kick turns
A kick turn is how you change direction on a slope too steep to swing round in a curve. You plant your poles, lift the uphill ski and place it pointing the new way, then bring the other one round to meet it. It is the one genuinely awkward skill in touring and everybody looks ridiculous learning it, which is a large part of why doing it for the first time in a no-drop group with our volunteers is better than doing it alone.
The transition at the top
The transition is everything you do between arriving at the top and descending, and doing it in a sensible order is what separates a five-minute transition from a twenty-minute one.
- Put on your insulating layer first, before you cool down. This is the step everybody skips and regrets.
- Skins off, folded or in the mesh, stowed in your pack rather than left in the snow.
- Heel down, bindings into ski mode. Check both.
- Boots into ski mode and buckled. Check both.
- Goggles, gloves, pack back on, and look at the group before anybody drops.
Pacing, and why you are too hot
Almost everybody starts too fast and dressed too warmly. Going uphill generates an amount of heat that surprises people, and being soaked in sweat at the top is what makes the way down cold and miserable.
On your own, start the climb slightly cold: if you are comfortable in the parking lot you are overdressed. On one of our program days, start comfortable instead, because we stand outside for introductions before anybody moves, and there is a planned group stop in the first five to ten minutes to shed a layer. Either way, set a pace you could hold while talking in full sentences, and if you cannot talk, you are going too fast. On our programs the group pace is set by the slowest person and that is the entire point, so this problem largely solves itself. See the layering guide for the clothing side of it.
Where to actually learn it
On snow, with people who have done it, which is the thing we exist to provide. An Open to All day is $25, with $10 and free options. There is a shop or rental partner at every location we run with a rate we negotiated for our participants, and the whole day is built around the assumption that you have never done any of this. You will get all of the above taught to you in the first twenty minutes and then you will go and do it.

